


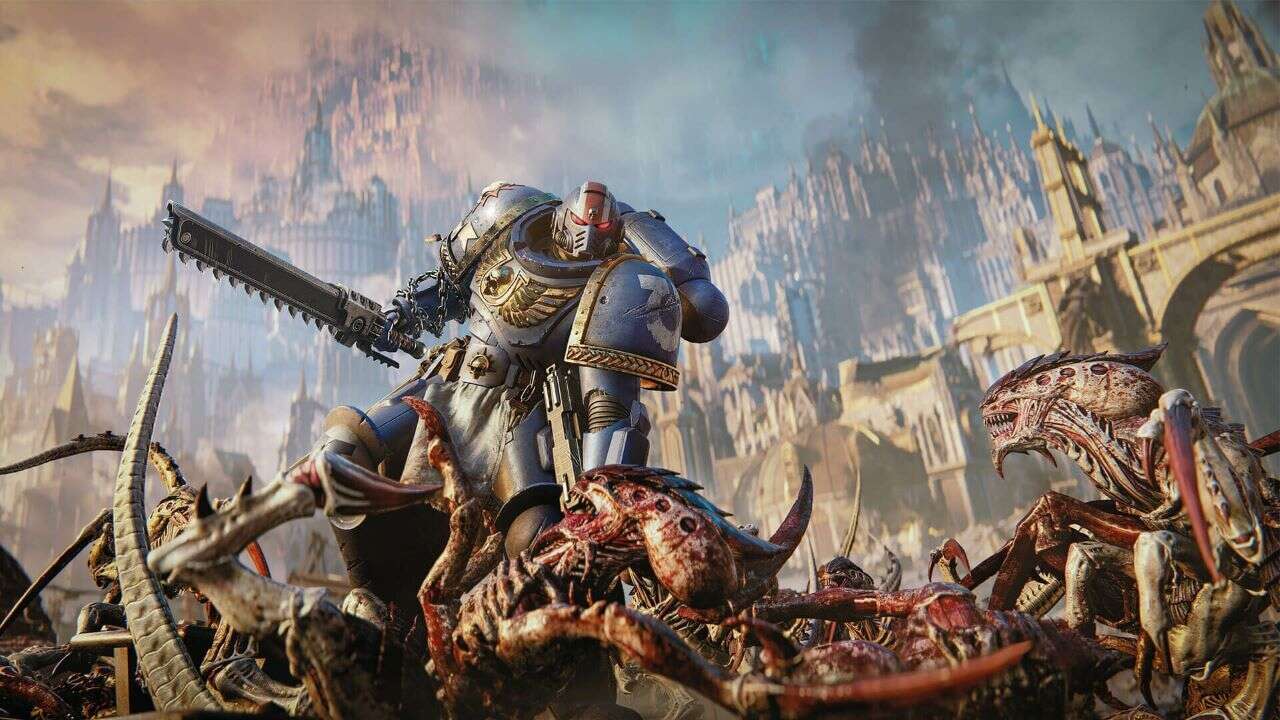

Warhammer 40,000: Space Marine 2 puts you in the armor of an Ultramarine, tasked with taking on massive hordes of aliens and zealots. The third-person shooting and melee combat asks you to utilize a lot of systems and abilities to succeed, but our tips can help make the learning process much easier. These tips apply to the campaign and PvE multiplayer, so you can be the best Ultramarine possible.
Melee Combat and Combos

Space Marine 2 might be a third-person shooter, but that doesn't mean the melee combat isn't important. In fact, when facing massive hordes of enemies, melee will likely be your go-to for taking down the enemy. There are five weapons in Space Marine 2, which have various speeds and use cases. The weapons are the Chainsword, Combat Knife, Power Sword, Thunder Hammer, and Power Fist.
Depending on the weapon, they will have different pros and cons. For example, the Combat Knife excels against a single, large enemy but struggles against large crowds, while the slow Thunder Hammer can take down large hordes but lacks the speed for single combat. They also have different defensive styles. The Fencing style increases the windows for perfect parries, while the Block style doesn't have a perfect parry window, but is better at blocking. There are also different attack combos for each weapon, which can be seen in the pause menu. Some combos are better against large amounts of enemies than others, so it's good to know which combo is good in each situation.
Countering, Dodging, and Parrying

Of course, you won't always be on the offensive in Space Marine 2. Sometimes you will need to be defensive, which is where countering, dodging, and parrying come into play. There are two types of telegraphed attacks, orange and blue. The blue indicator is for an attack that can be parried, while orange indicates an attack that must be dodged.
If done successfully, you may get to do a Gun Strike, which can execute smaller enemies and deal a ton of damage to a larger enemy, while also restoring some of your armor. If an enemy is already weakened, you may get to do an Execution. Enemies also do normal attacks that don't have a visual indicator, but these attacks can also be parried or dodged, sometimes still rewarding you with a Gun Strike or Execution. Take advantage of these to keep your armor full in the heat of battle.
How to Best Use Finishers and Executions

If enemies exploding in incredibly grizzly ways from your weapons isn't enough for you, the Executions let you finish off weakened enemies in over-the-top ways. Not only do these finish an enemy off without using any more ammo, but performing an execution also restores some of your armor and can even clear out some enemies. Completing an execution will knock back enemies and if it's smaller Tyranids that are being mind-controlled by a bigger enemy that you just executed, they will also die.
More importantly, though, executions provide benefits outside of killing enemies. You get some armor restored when you perform an execution and if you are missing some health with a white section on your health bar, you can restore health to. When you take health damage, you have a short time to deal damage and restore it. Executions count as a ton of damage, so you can quickly heal in the heat of battle. You also can't take damage during the animation, which can be key for survival.
Don’t Be Greedy With Executions

That said, if you are running through either the campaign or PvE co-op mode with some friends, you're going to have to resist the urge to execute every enemy yourself. When playing with other people, especially on the harder difficulties, your squad will need to spread the love a little when it comes to these gruesome finishers. Not only will everyone need to regenerate armor pretty frequently, but the invincibility that you get during the animation can buy a low health teammate some free-time.
Know Your Weapons

There are a ton of guns in Space Marine 2 and it's important to have a good understanding of how each one functions and what situations they are suitable for. When you choose your loadout pre-mission at the armorer, you can see some info, but here's generally what you can expect from each weapon type. Bolters are your run-of-the-mill machine guns, with a bunch of variants like heavy, burst, etc. There are weapons like the Bolt Sniper Rifle, which can be used to do high damage precision shots.
There are also close-range weapons like the Melta weapons, which fire thermal damage at close range and deal with a ton of damage, letting you quickly set up executions. There are also heavy weapons like the Heavy Bolter and the Multi-Melta, which are high in damage but restrict your ability to use your melee weapon. During the campaign, if you see either a short-range or long-range weapon available for pickup, it's usually because it will come in handy in the next area.
Synaptic Creatures

It's a good idea to try and keep track of the Tyranid synaptic creatures during combat. This typically means the big ones and, in some cases, the floating ones. Not only do the big ones deal more damage, but they control the smaller ones. This means when you take one out, it usually either kills the smaller ones, or at least makes them vulnerable.
Of course, it's not always that simple. Sometimes there are too many small enemies to ignore, especially if you get surrounded. The little ones can shred through your armor and health if there is a big enough pack. If the synaptic Tyranid is a ranged enemy taking shots at you from far away, it's probably beneficial to thin out the other enemies instead of trying to rush over to them.
Barbs and Status Effects

Dealing damage isn't the only way the enemies in Warhammer 40,000: Space Marine 2 can slow you down. They also have a variety of other status effects as well, like the barbs, which some ranged Tyranids can shoot. These barbs will slow you down and can make it hard to see, but if you shoot the sprout in the center, you can destroy them.
You can also get poisoned, which will add a green hue to your screen and sap away your health. There are also concussive blasts that some floating Tyranids can hit you with, which will blur your vision. Last is madness, which the Thousand Sons marines can inflict, causing you to see fake enemies. They don't do damage, but you will waste some ammo on them. You can see when a status effect is building up by a meter that appears on screen, indicating you need to grab some cover.
Breaking crates/exploration

Across both the campaign and the PvE operations mode, exploring each level is worth your time. There is plenty to find, typically in the form of additional resources, like grenades, ammo, and med kits. You can also find different weapons to pick up and use, which is especially helpful in the campaign since these are usually tailored to the next combat section.
In Operations, you can also find hidden armory data which unlock new weapons or weapon tiers, and gene seeds which offer an XP boost, on top of all the extra resources that can help you get through your mission. Most Space Marine 2 levels are fairly linear, so it won't take too much time to check any side paths that come up.
Use your environment

At this point, most people know that red barrels explode in shooters, but they shouldn't be dismissed in Space Marine 2. These barrels, along with blue disruption barrels and spiky grass plants, can deal a ton of damage to enemies. All of these hazards can destroy large groups of enemies and usually can either kill or almost kill many of the bigger enemies, so they are best used when enemies have gathered near them and not shot immediately as soon as a fight starts.
Stopping Reinforcements

If you ever feel like the horde of enemies is never-ending, there is likely an enemy present that is calling for reinforcements. Occasionally larger enemies, both elite xenos and heretics van call for backup, which is shown by a large icon that fills up with red to indicate the completion time. If that icon fully fills, a fresh wave of enemies, which can include more elites that call for reinforcements, makes things that much harder for you.
You want to focus on these enemies immediately to prevent this, which can be done by killing or stunning them. Aim for headshots to get a stun if you are farther away, otherwise just deal as much damage as possible to get the opportunity to execute them and prevent them. Watch out for Thousand Sons Sorcerers, too, who won't call a fresh wave of enemies but can revive Rubric Marines, albeit one at a time. Take them out so you don't have to put down these opposing marines a second time.
Trials

Trials can be found in the Operations PvE at the armoring chamber, where you pick your class. Each class has three trials, which do two things. First, they showcase the unique abilities of each class, so you have a better understanding of what your role should be. The second bonus is that getting an A rank in a trial grants resources, which can be used to purchase perks or the next weapon tier. You also get one unit of armory data for each trial you complete, up to 18 total, which can also be used to unlock new weapons.


